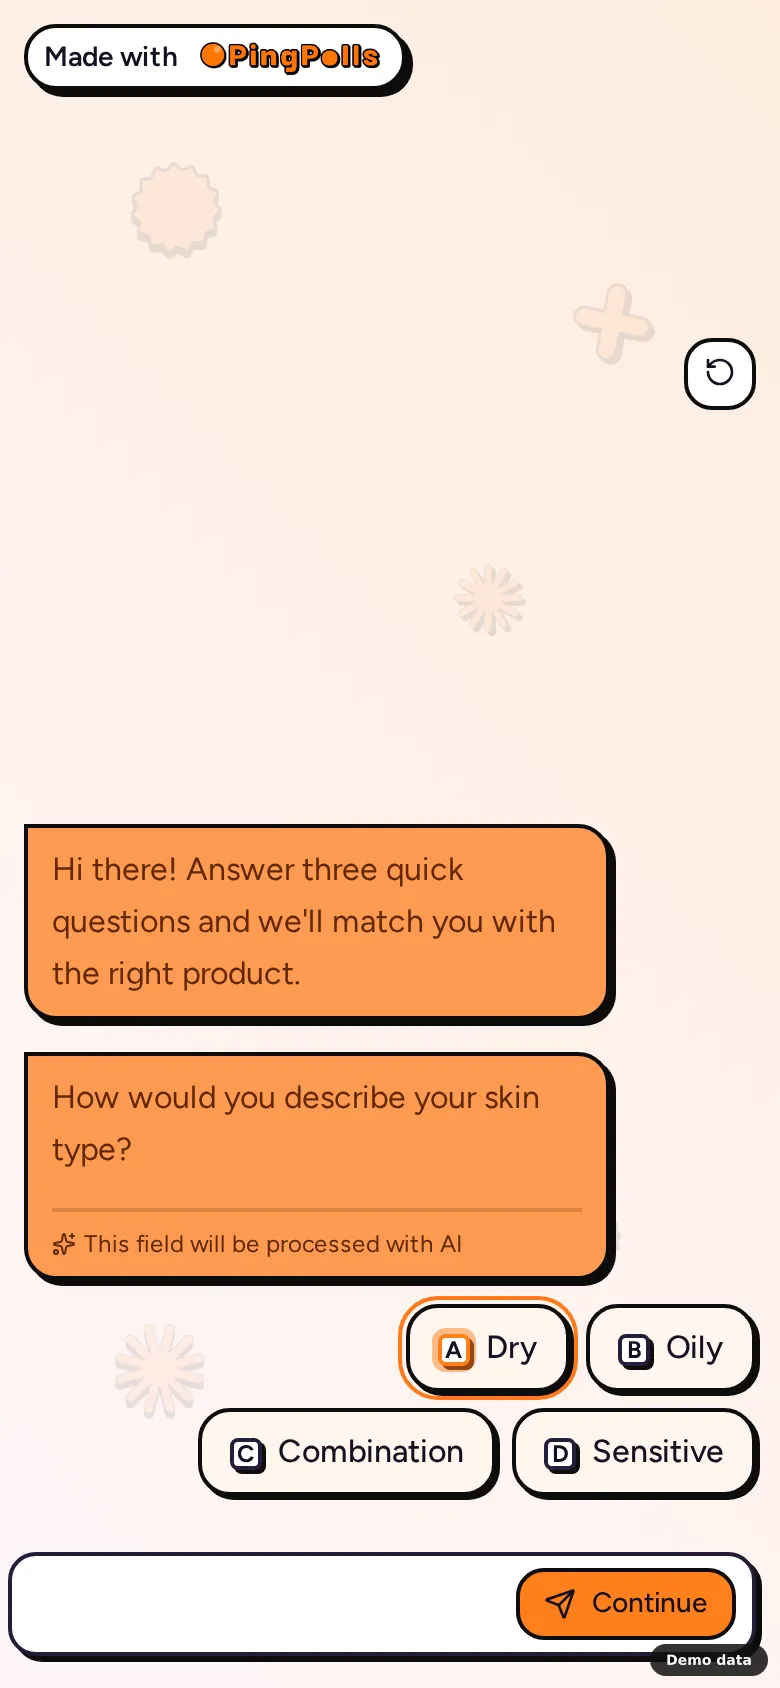
When your range grows past a handful of shades, the same question keeps arriving in your DMs, "which one is right for me?", and answering it one chat at a time eats the hours you'd rather spend on your next launch. A product recommendation quiz answers it for every shopper at once, because each one answers a few quick questions and lands on a result page made for the product that fits them.
This guide walks you through a shade finder with three questions, three products and a result page for each. The same recipe works for scents, skincare routines or bundles, and every part of it (logic, custom fields and result sections) is free on every plan.
How the quiz works
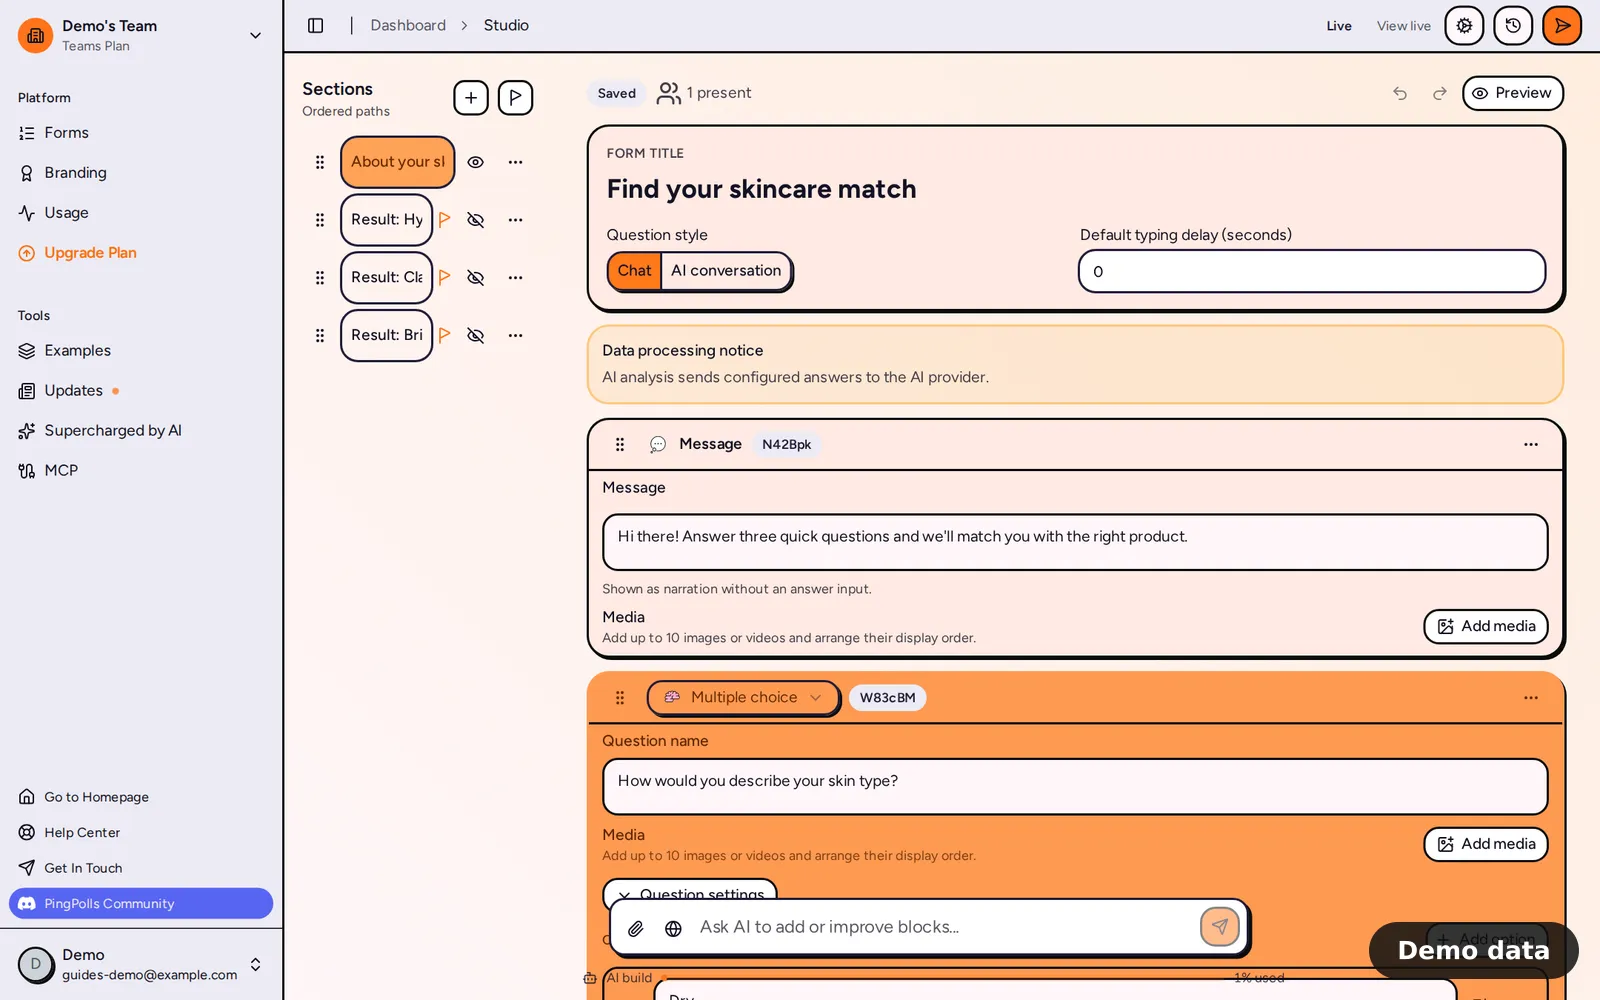
The quiz has four parts that work together. Multiple choice questions collect the shopper's answers, a custom field for each product keeps that product's points, logic blocks add points after each answer, and result sections show the winning product. At the end, a final set of logic blocks compares the points and picks the result, so the shopper sees one recommendation the moment they submit.
Step 1: Write the questions
Open the Add block menu and add a Multiple choice question for each thing that decides the product, for example "How would you describe your undertone?" with Warm, Cool, Neutral and "Not sure". Each option can carry one image or video, which helps shoppers who don't know the words, and Question settings can add number or letter badges to the options.
Keep the scoring questions as multiple choice, checkboxes or dropdowns, because logic conditions can read text, number, date and choice questions but not preference ranking, sentiment, file or phone questions.
Step 2: Add a custom field for each product
Open Add block, choose Custom field under Structure, and name it after the product, such as "Nude score". Keep the type as Number and the starting value at 0. Add one field per product, so a three-shade quiz has three fields.
Shoppers never type into these fields. They only hold points that your logic adds up, and Calculated custom fields explains what else they can do.
Step 3: Add points with logic
Below each question, add a Logic block from the Structure group of the Add block menu.
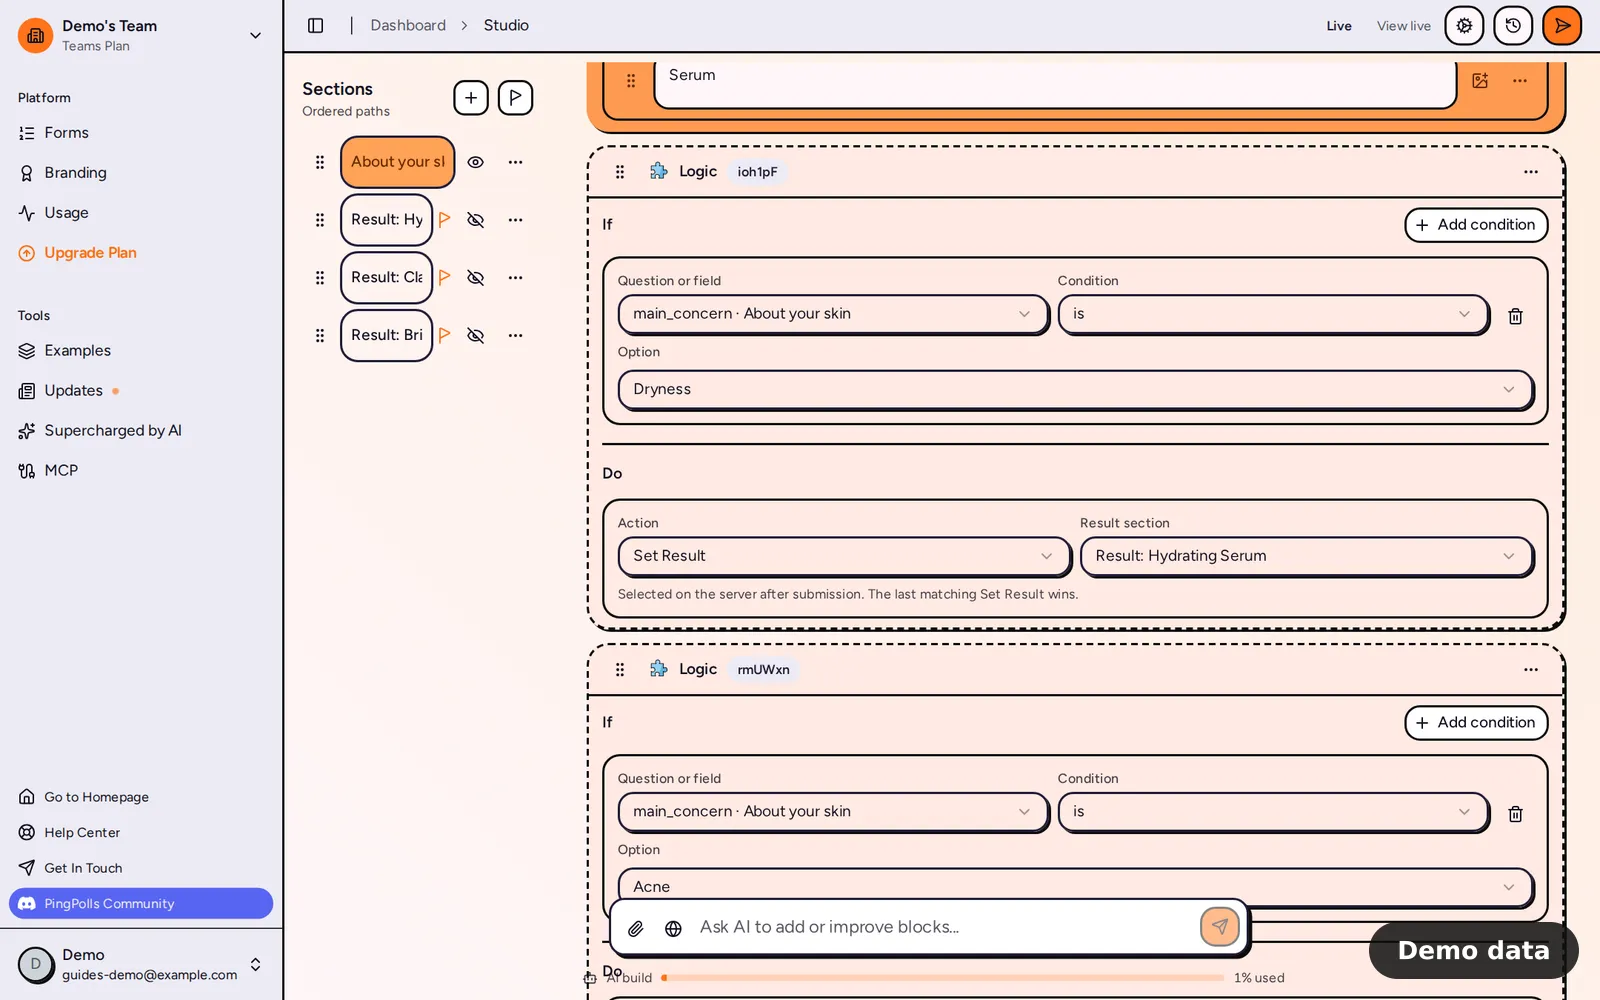
- Under Add condition, choose the question, the condition "is" and the option, for example Undertone is Warm.
- Under Do action, choose Update custom field, pick "Nude score", choose Add and type 2.
- Add another Logic block for the next scoring rule, for example Undertone is Cool adds 2 to "Rosy score".
Every logic block runs exactly one action, so an answer that should give points to two products needs two logic blocks. That keeps each rule easy to read when you come back to the quiz in three months. Conditional logic lists every condition and action.
Step 4: Create a result section for each product
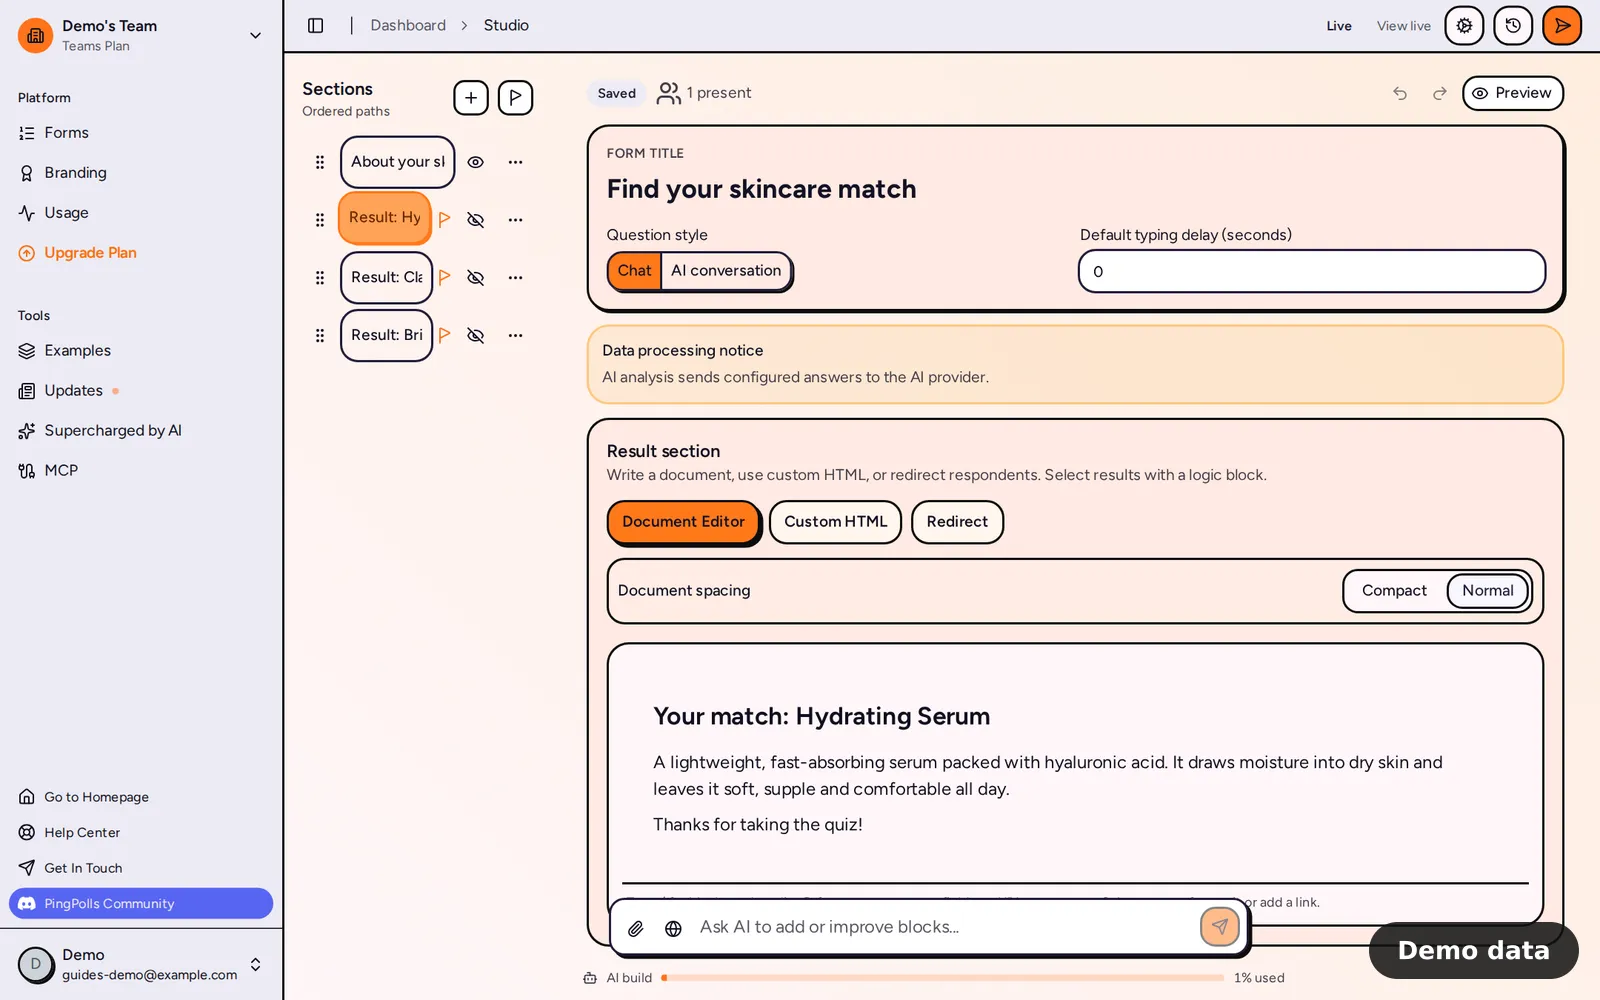
In the section navigator on the left, click the flag button (Add result section). It adds a result section in Document Editor mode, where you write the recommendation the shopper will see.
- Type / to open the block menu and choose Upload media to add the product photo.
- Type @ to open "Dynamic values" and insert one of the shopper's answers or a custom field, so the page can say something like "Your warm undertone suits Nude".
- Add a link to the product listing in your Shopee or TikTok Shop store, so the shopper can buy the shade they were just matched with.
The Redirect tab sends shoppers straight to an address instead. If a result has both text and a redirect address, the page shows a "Continue" button that opens the address in a new tab, which lets shoppers read your recommendation before they go to the listing. See Show a result page after submit for the Custom HTML mode and the other options.
Step 5: Pick the result with Set Result
At the end of the last question section, add one Logic block per product.
- Set Match conditions to All conditions.
- Add a condition such as "Nude score" is at least "Rosy score", comparing with another field, and a second one comparing with the third product's field.
- Under Do action, choose Set Result and pick the Nude result section.
Rules are checked in order and the last matching Set Result wins, so put the product you want to win a tie in the last block. If no rule matches, the shopper sees the first result section that isn't hidden, which makes your bestseller a sensible first result section to keep as the safe default.
Step 6: Preview, publish and share
Click Preview to take the quiz yourself. The preview opens the real form, and nothing you answer there is recorded, so try each path until every product shows up at least once.
Then click Publish. Publishing checks your logic first, so a logic block without an action, or a Set Result that points at a missing section, is flagged before shoppers ever see it. After publishing, the Sharing tab gives you the link for your Instagram bio and the code to embed the quiz on your own site.
See where shoppers land
The Responses tab has a column for every custom field, so you can see each shopper's points next to their answers, and the Export CSV button (for the form owner) includes custom fields too. If one product almost never wins, your scoring may lean too hard on one question, and adjusting a few point values is usually enough to fix it.
Plan notes
- Logic, custom fields and result sections work on every plan, including Free.
- Result pages show a "Made with PingPolls" watermark unless your team has its own branding on Pro or Teams.
- On Pro and Teams, the result email can send shoppers a link to their result, so they can find their shade again later.