Online questionnaires collect careless clicks from people who want to finish quickly, and sooner or later your supervisor or a reviewer asks how you checked for them. "I removed the odd ones" is hard to write up in a methods section, so it pays to decide your checks before the first response arrives and to keep a record of them as you go.
This guide follows a thesis questionnaire from the consent step to the CSV you open in SPSS or Excel. Along the way you'll set the checks that run on every response, so that by the end you can describe them in a few plain sentences. The Free plan includes unlimited forms and 100 responses a month, which is enough to pilot your questionnaire before the full study.
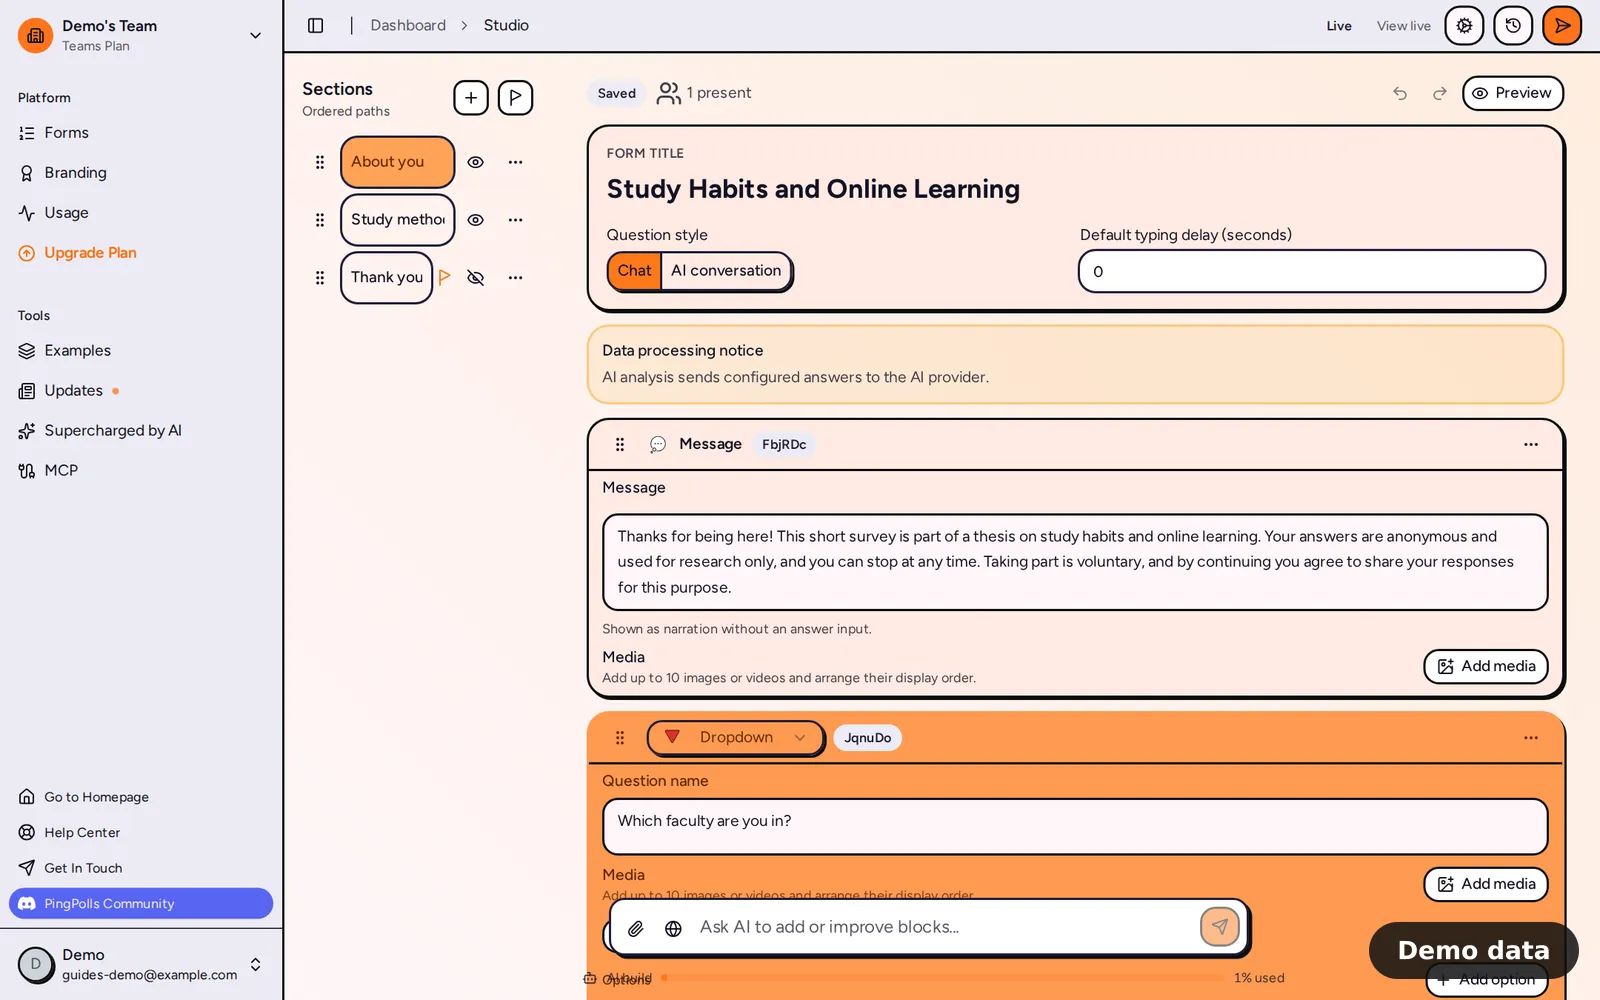
Step 1: Start with participant information and consent
Create a form (Create your first form covers the basics) and make the first section your consent step.
- Open Add block and add a Message with your participant information, such as the purpose of the study, what you collect, how long you keep it and how to contact you or your supervisor.
- Add a Multiple choice question such as "Do you agree to take part in this study?" with "Yes, I agree" and "No". Leave it required, so nobody can skip it.
- Add a Logic block below it with the condition "is No" and the action Disable submit, so someone who declines can't send a response.
If your respondents answer in Indonesian or another language, set the form's Language in the Settings tab, because PingPolls translates its own buttons and messages into 12 languages. You write the questions themselves in the language you need. Conditional logic lists the other actions a logic block can take.
Step 2: Build your measurement items
PingPolls has no separate rating-scale question type, so write Likert items as Multiple choice questions with your scale points as options ("Strongly disagree" to "Strongly agree"). In Question settings, set the badges to Number, so each option shows its scale number to respondents.
A few more settings make your data cleaner later.
- Field name sets the name used in exports and integrations. Give every question the variable name from your codebook (Q1_SAT, Q2_SAT and so on), so your CSV columns already match your analysis plan.
- Number questions take a minimum and a maximum, so an age question can refuse values below 18 with "Use 18 or more".
- Checkboxes take a minimum and maximum number of choices.
- Long text questions accept typed or spoken answers, since respondents can tap Record answer in supporting browsers.
Check the AI analysis switch on every question, because the AI form builder turns it on for opinion questions by default. Answers to a question with AI analysis on are sent to the AI provider, and respondents see a hint saying "This field will be processed with AI". Switch it off for any question your ethics approval says must stay with you, and keep it on only where you want emotion and relevancy checks on open answers.
When you want participants to prioritize, use a Preference ranking or Sentiment cards question instead of a grid. Those picks are timed, which gives you a confidence signal per answer (more on that in Step 6).
Step 3: Pilot it with a few people
Click Preview in the studio and answer every path yourself. Nothing you answer in the preview is recorded, so try declining consent too and check that the form can't be submitted.
Then click Publish and send the link to a few classmates. The Analytics tab shows visits, submissions and average visit time on every plan, which tells you whether the questionnaire takes as long as you promised in your participant information. Ask your pilot group which questions confused them, fix the wording in the studio and click Publish updates, which keeps the same link.
Before the real study starts, the form owner can delete the pilot responses in the Responses tab, so they don't mix with your data. Every published version is kept and never expires, which gives you a record of exactly what participants saw.
Step 4: Set your checks and closing time
Open the Settings tab before you share the real link, and set everything in one go before clicking Save settings.
- Duplicate responses allows one response per browser by default. Adding Network (IP address) catches repeat submissions from one connection, but students on the same campus network can share an address, so pair it with another part or leave it out. Prevent duplicate responses and spam explains every option.
- Bot protection has Require reCAPTCHA, which works on every plan. A hidden honeypot field and a single-use token are always on as well.
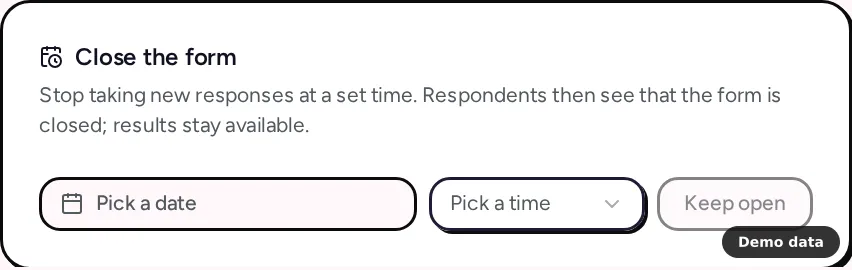
- Close the form takes a date and a time after which the form accepts no new responses. The form still opens and says it isn't accepting responses, and your results stay readable. Keep open removes the closing time.
If you expect more than 100 responses in a month, Pro includes 2,000. When a Free team runs out, the form stops accepting responses until the allowance resets, so plan your data collection window around it. Form settings covers the rest of this tab.
Step 5: Export to CSV for SPSS or Excel
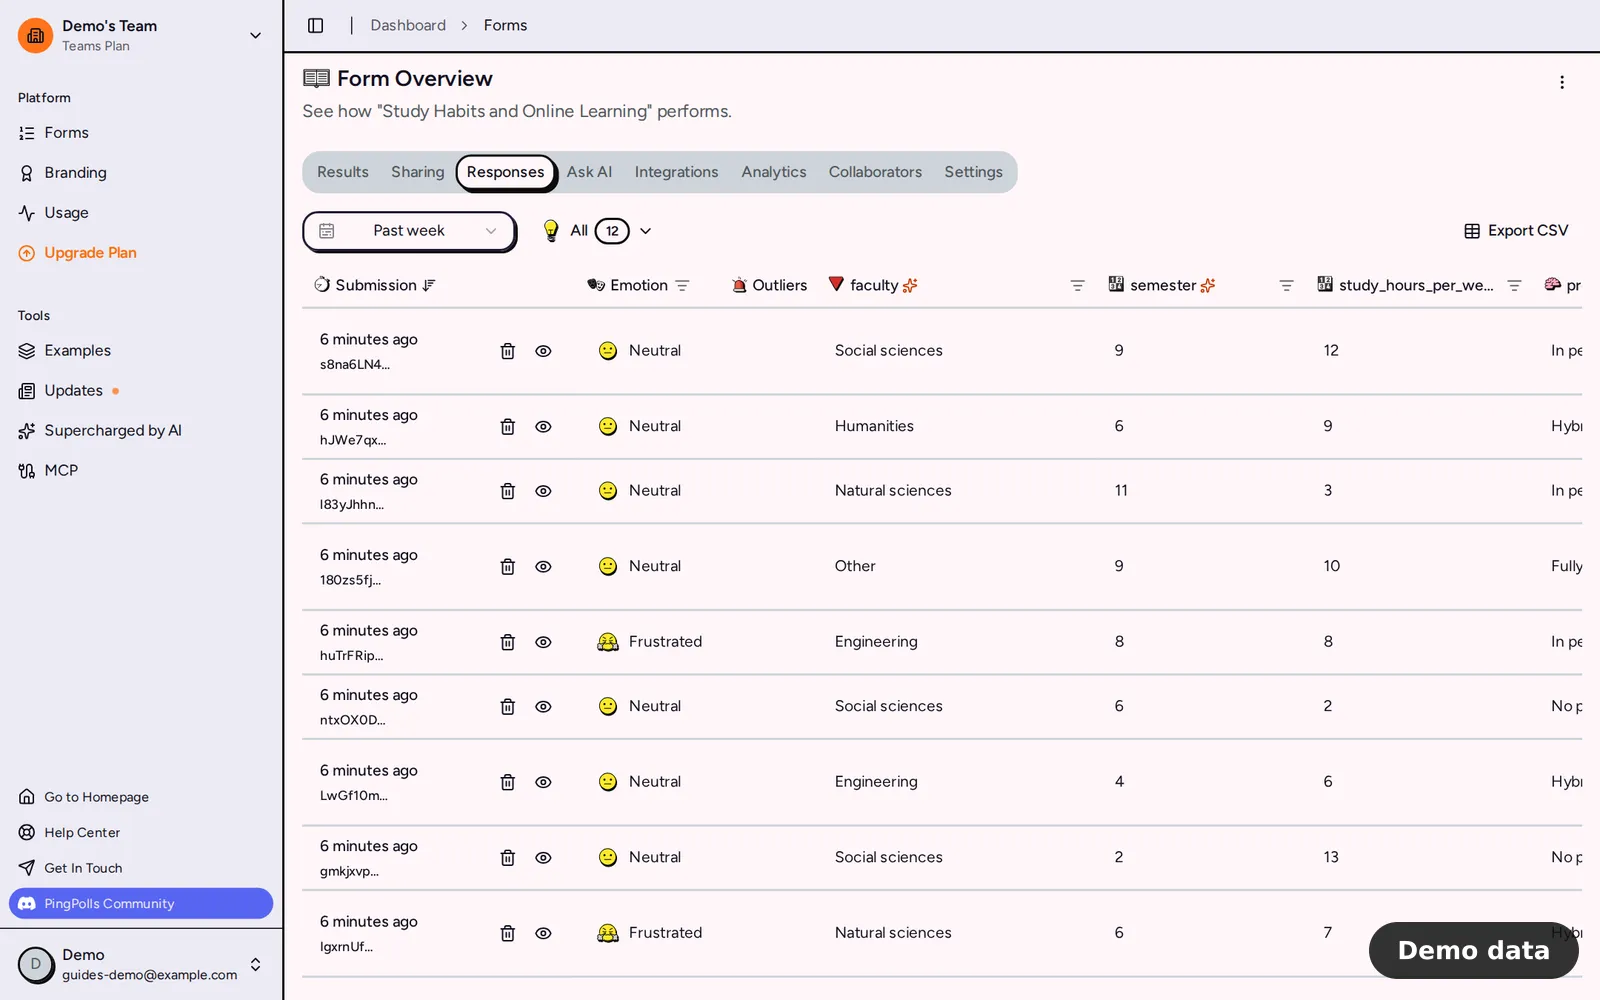
Once the form closes, open the Responses tab and click Export CSV (only the form owner can export). The export follows the date range and filters you set, and you download it through a signed link that works for 24 hours.
- Each question becomes a column, named after its field name.
- Choices come out as their labels, so recode your Likert labels into numbers in SPSS or Excel.
- Checkbox answers are joined with commas, and numbers stay numbers.
- Rankings and sentiment answers come out as
label: scorelines. - Any cell that starts with
=,+,-or@gets a leading', so the spreadsheet doesn't run it as a formula. Remove it if you need the original text.
View and export responses lists every column.
Step 6: Describe how answers were checked
Your methods section can now report what ran on every response, in plain words. A template you can adapt looks like this.
Data were collected with PingPolls between [start date] and [closing date]. Participants gave consent before answering, and the form could not be submitted without it. The form accepted one response per browser [and per network address], rejected submissions that failed a hidden honeypot field or a single-use submission token, and checked each submission with reCAPTCHA Enterprise at a minimum score of 0.3. [Open answers were checked for relevancy, and flagged answers were reviewed before analysis.] [On card questions, decision time per pick was recorded as a confidence signal and reported next to the attention checks.]
If you used card questions, describe Certiscore™ for what it is, a record of how long each pick took that is turned into a confidence signal. It tells you how sure an answer was, not whether a person or a program answered, so present it as one more check next to your attention checks and not as a detector. Plain choice and Likert questions don't carry it. Your supervisor can read the details in Read how we analyze answers.
